
I’ve read that sourdough starter, and all the myriad, scrumptious, soul-satisfying baked goods that can be improved by sourdough, has enjoyed a resurgence during the last 12 months of COVID quarantines and isolation. Now that things are opening up and shopping for groceries is less of a soul-sapping, face-masked, hand sanitized, social-distancing drudgery, cooking with sourdough starter may recede back into the mists of earlier times.
But while it is still “a thing” — here’s my failsafe, works every time, chewy, crispy, and “authentic” sourdough pizza crust recipe for your choice of pizza toppings. Seriously. If you like the simplicity of a basil, mozzarella, tomato Margherita; or if you prefer loading on the salami, sausage, anchovies, and cheese; and even if you go for ham and pineapple — this is for you.
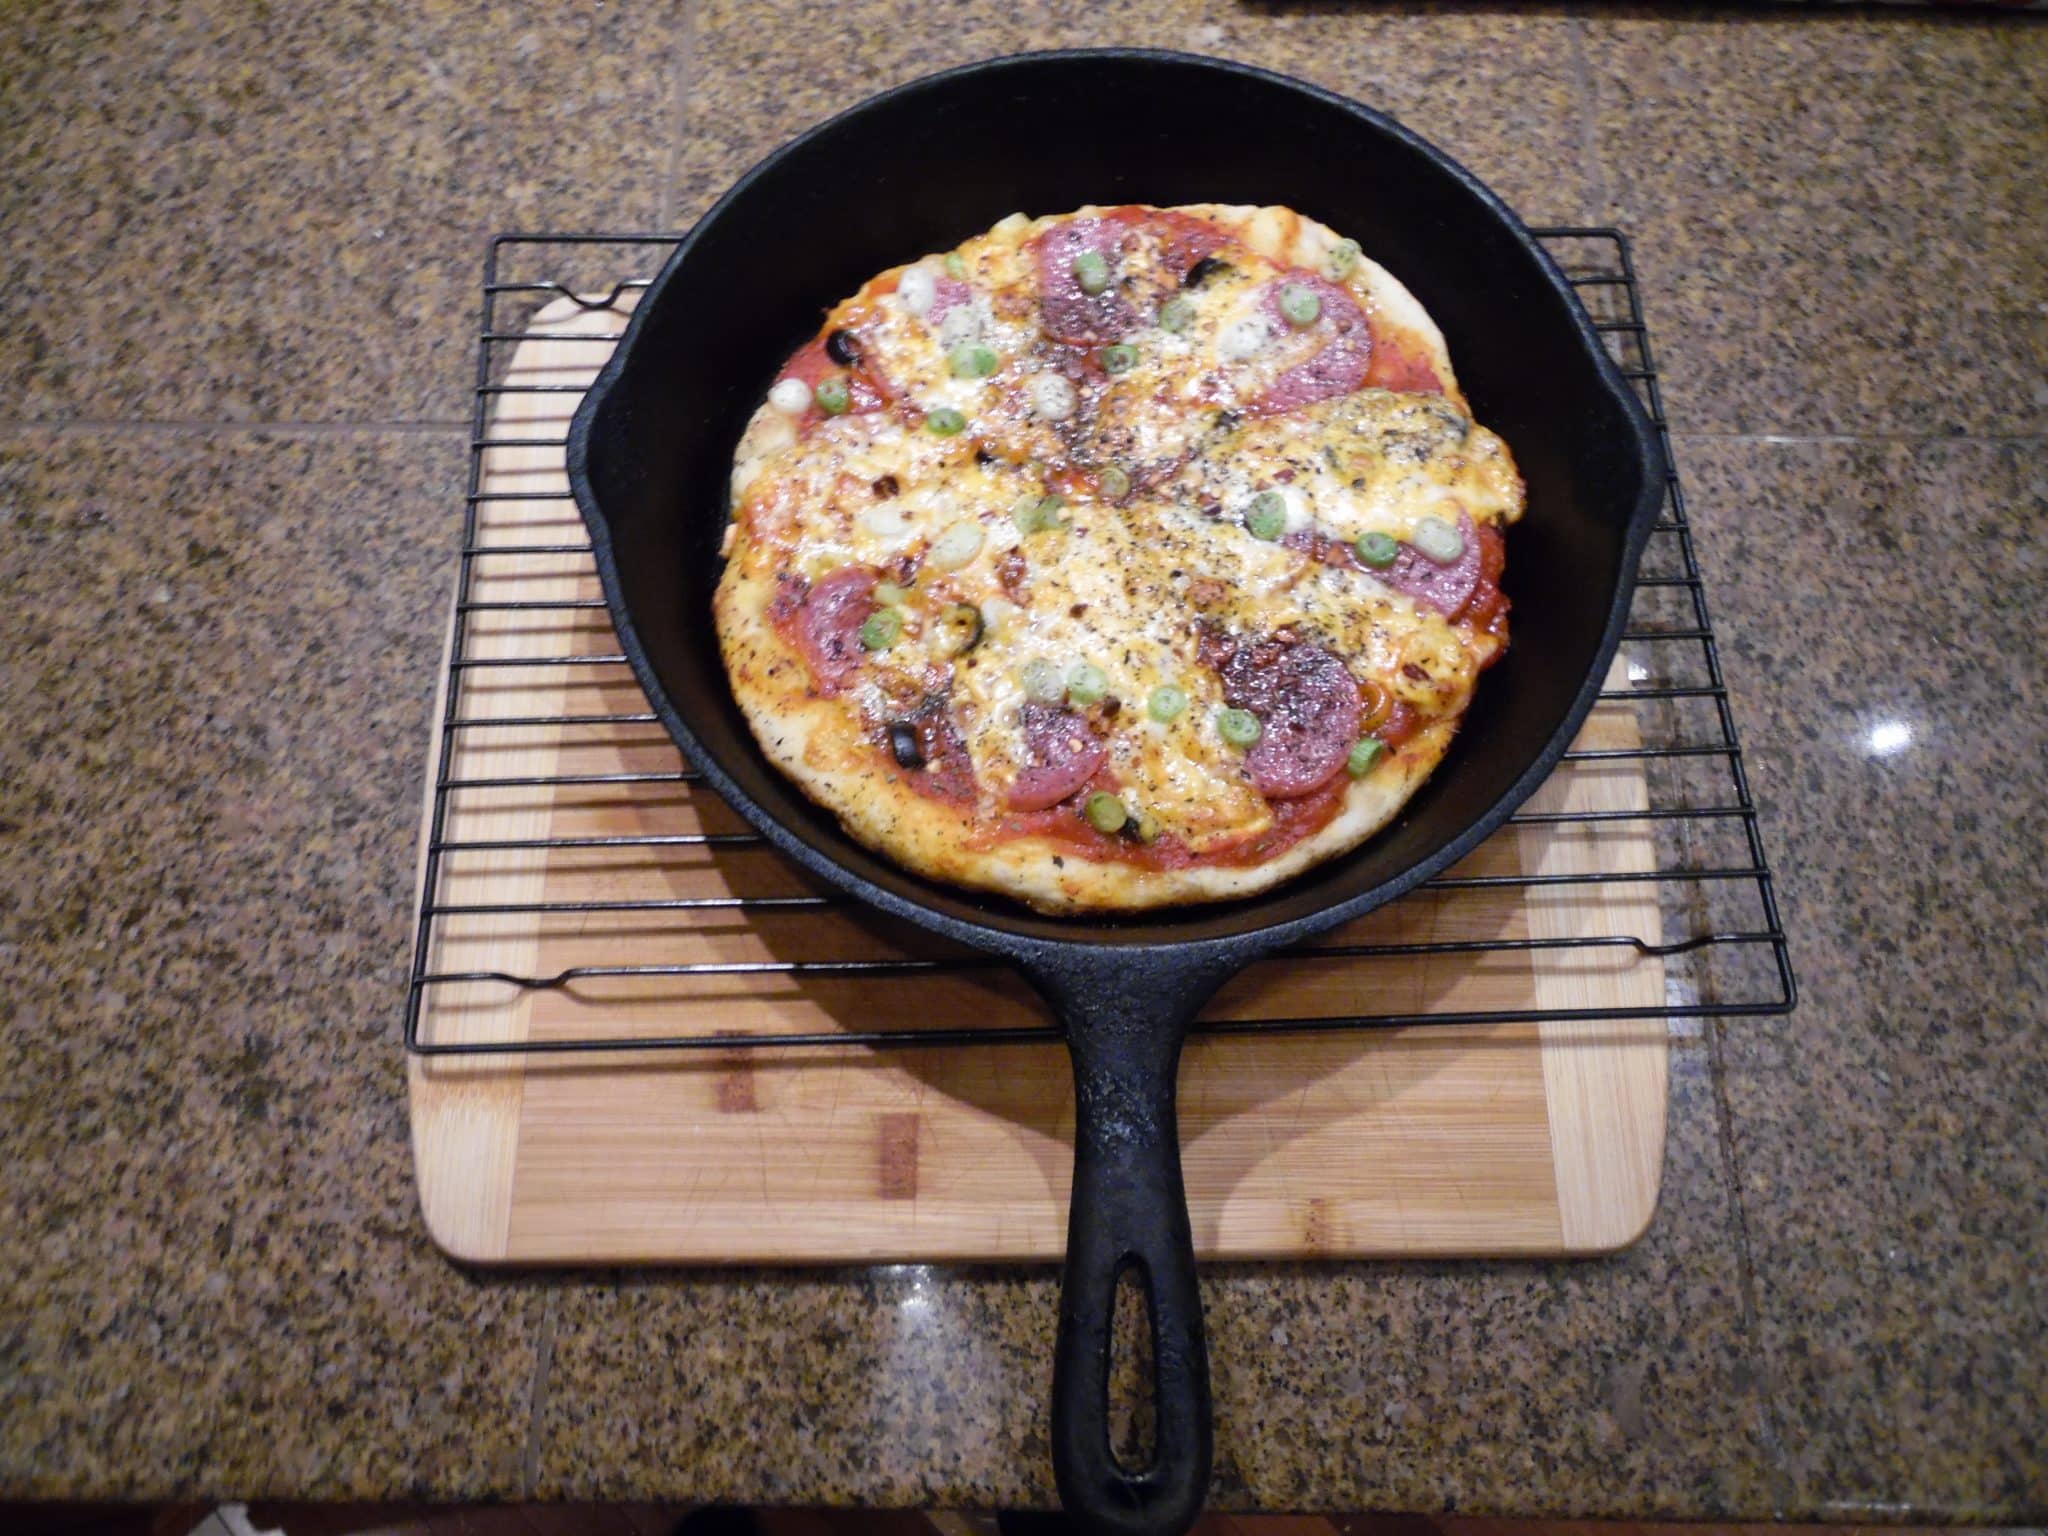
One caveat: You’ll need a big, well-seasoned cast iron skillet — a 10-incher will do, particularly if you want to spread the dough up the sides of the pan for something approaching a deeper-dish pizza. A 12-incher is better, and allows for a larger, thinner crust. I love this recipe because it incorporates my favorite go-to kitchen staples: a cast iron skillet and sour dough starter.
Sourdough Pizza Crust
½ cup sourdough starter*
2 cups all-purpose flour
1 Tbsp olive oil (and a bit more, to brush pizza dough prior to topping).
1 ½ tsp salt
½ cup lukewarm water
Mix it all up until it forms a ball (add an extra tablespoon or two of water if necessary). The dough should be loose and slightly sticky. Cover the bowl with a towel and let rise at room temperature overnight.
When you get up, turn the dough out on a lightly floured surface, pat down to release most of the air bubbles, and fold over at 12, 3, 6, and 9 o’clock positions. Divide into two portions, cover in plastic wrap or a damp kitchen towel, and place back in the fridge until you’re ready for pizza — for lunch, dinner, or anytime over the next 36 to 48 hours.
When it is time to bake, let the dough rest at room temperature for 30 minutes and preheat the oven to 500° F. Pat out the dough to fit the skillet. If it starts to resist, let it rest for 15 minutes under a damp paper towel or kitchen cloth to relax before patting it out to full size inside a room temperature skillet. Brush with a thin coat of olive oil, spread on your sauce of choice with the back of a ladle, artistically arrange your toppings, place on a stove, and heat at high for about five minutes. When it begins to puff and brown around the edges, and slightly char (not burn) towards the bottom, place in the preheated oven for four to five minutes.
Remove from oven (if you have loaded it down with cheese and the like, let it rest for five minutes) and serve.
*Lots of people go on and on about “finding excuses” to use “sourdough discard” apparently under the theory that no one uses their starter often enough to keep it viable, so periodically a certain portion must be “discarded,” and the starter fed with fresh flour and water. Some specify using “unfed” starter out of the theory that it is “hungrier” and therefore more “active.” I pull my starter out of the fridge 30 minutes before using, take what I need, replenish it with a like amount of what I remove, and put it back in the fridge.
**I often substitute ¼ to 1/3 cup of whole-wheat flour for a like amount of all-purpose flour.
If you don’t have sourdough starter, make your own. There are plenty of recipes online, some calling for potatoes and potato water, some calling for rye or whole-wheat flour, some calling for granulated yeast, but it’s basically just mixing up some flour with a pinch of sugar and lukewarm water to make a wet paste, letting it sit overnight loosely covered, and feeding it by stirring it up with a spoon of flour and a couple of spoons of water twice a day for a few days until you see it begin to work. Keep utensils as clean as possible to avoid mold. After a few days it should be ready (if not, dump it out and start again). Feed it well, cover closely, and refrigerate until needed.
– Mike Howard